I’ll be honest with you. I’m not one of those “textbook” make up artists who live by the holy grail of make up artists before us. While their tips and contribution to Hollywood (which, let’s face it, is where we get all our trends) are greatly appreciated, there are some standards that as a professional I swear by, and others not so much. I am a firm believer in the fact that there are no rules to make up. Just, have fun and create. While ideally this hippyesque way of thinking works for me, unfortunately it’s not always practical.

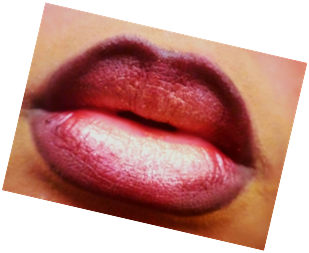
In today’s blog we will be discussing lip liner and the proper way to use it. Now before ya’ll start talkin about, “That’s so 90’s” or “Who has time for lip liner” or my absolute favorite, “Is it really necessary?” Think about this: Is there any unnecessary step to having a flawless face that lasts all night? I didn’t think so. Now that we’ve gotten that out of the way, let’s proceed. I’m gonna share my tips with you and some of my techniques also some other make up artists’.
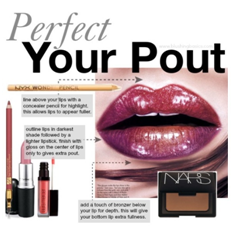
Let’s start with what you’ll need:

-
Lip liner (choose a shade that either blends naturally with your lips or one that compliments your lipstick.)
-
Lip stick (choose a base shade as well as a lighter shade to create a full pout through highlighting)
-
Lip gloss
-
Lip scrub or tooth brush
-
Lip balm
-
Concealer pencil, or just a concealer and an angle brush